Timeline Params Tab

Basic Usage
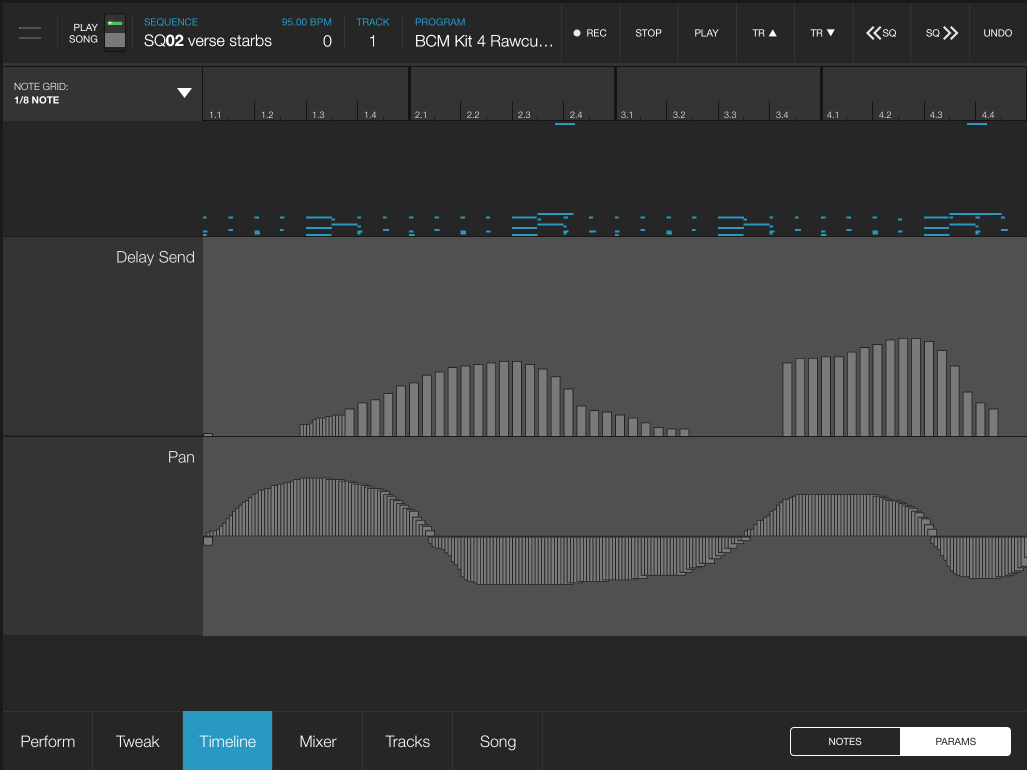
The Timeline Automation Editor allows you to edit automation that you have recorded, and also lets you draw in automation for additional parameters.
Tap and hold the lane for one of the parameters until the bars turn yellow. Then, as you drag your finger, it will insert new automation at the resolution specified by the Note Grid value. For example, if you have 1/8th Note selected, that means all of the values you insert are snapped to the 1/8th note grid. This can allow for some awesome beat-sync effects!
Dragging slightly past the top or bottom portion of the editable area maximizes or minimizes the value. Drag further outside the bounds, and it will start deleting notes as you drag from left to right. If you delete all of the automation in a channel, it will no longer appear when you go back to the Params screen until you re-automate it.
As in the Notes view, you can scroll by panning and pinch to zoom.
Adding New Parameters

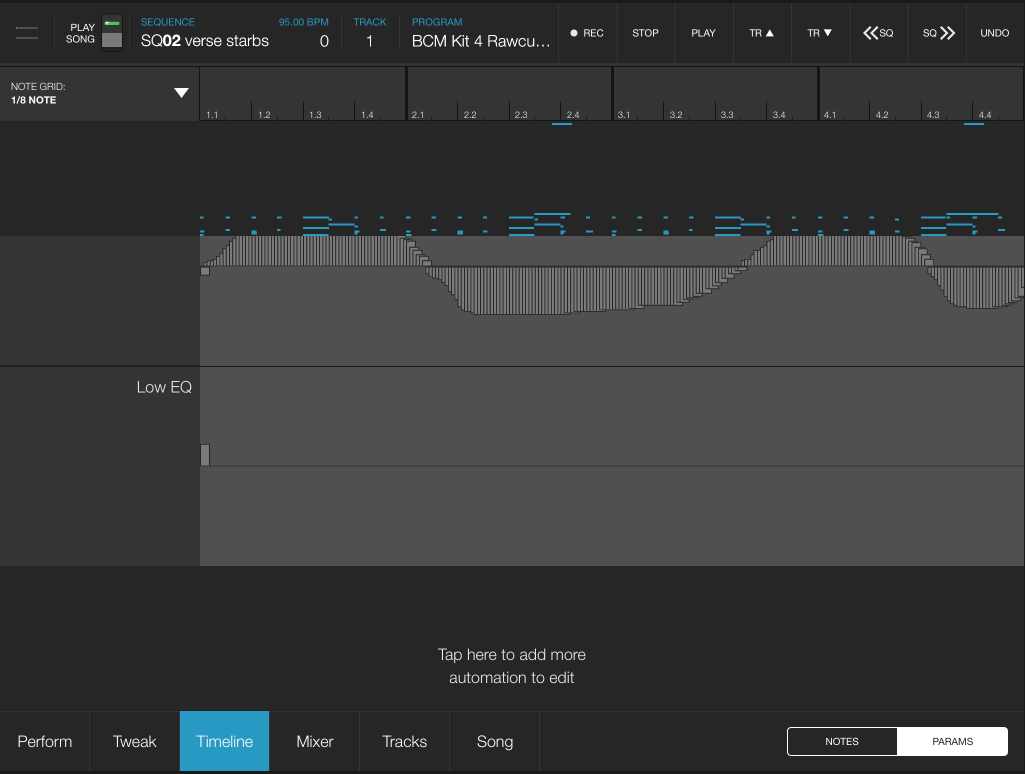
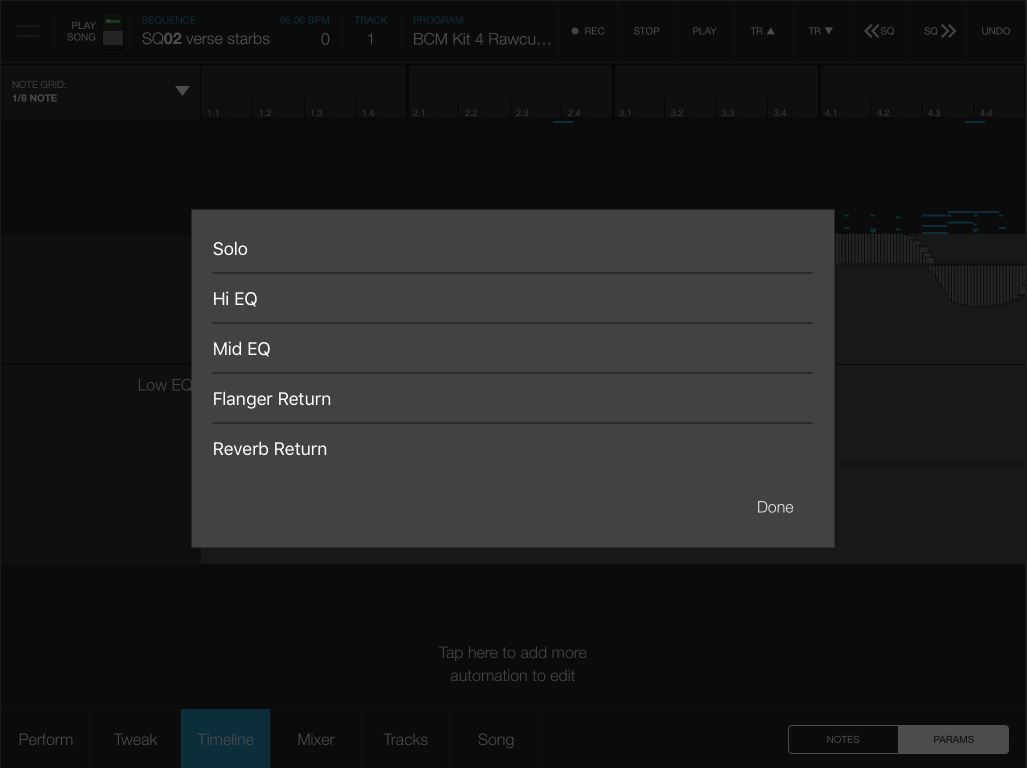
If a parameter that you want to edit doesn’t yet have automation data for this sequence, you can still edit it from this view. If you scroll down, you’ll see a button labeled “Tap here to add more automation to edit”. This lets you add new automation lanes. Tap this and a view will appear with a list of all the parameters you can possibly automate. If one of these parameters is tapped, it will turn a darker color, signifying that it has been added to the editor. Hit done when you are finished adding new automation lanes.
